Interfacing Arduino With Raspberry Pi Utilizing Serial Communication
Interfacing Arduino With Raspberry Pi Utilizing Serial Communication ?
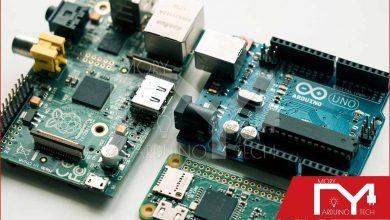
Raspberry Pi and Arduino are the two most well known open source sheets in Electronics Community. They are mainstream among Electronics Engineers as well as among school understudies and specialists, due to their Easiness and Simplicity. Indeed, even a few people just began enjoying Electronics due to Raspberry Pi and Arduino. These sheets have extraordinary forces, and one can fabricate extremely convoluted and Hi-fi venture in hardly any basic advances and small programming.
We have made number of Arduino Projects and Tutorials, from straight forward ones to convoluted ones. We have additionally made Series of Raspberry Pi Tutorials, from where any body can begin gaining ‘without any preparation’. This is a little commitment towards Electronics Community from our side and this entryway has substantiated itself as Great Learning Resource for Electronics. So today we are bringing these two extraordinary sheets together by Interfacing Arduino with Raspberry Pi.
In this instructional exercise, we will build up a Serial Communication between Raspberry Pi as well as Arduino Uno. PI has just 26 GPIO sticks and zero ADC channels, so when we do undertakings like 3D printer, PI can’t do every one of the cooperations alone. So we need more yield pins and extra capacities, for adding more capacities to PI, we build up a correspondence among PI and UNO. With that we can utilize all the capacity of UNO as they were PI capacities.
Arduino is a major stage for venture improvement, having numerous sheets like Arduino Uno, Arduino Pro smaller than usual, Arduino Due and so forth.
They are ATMEGA controller based sheets intended for Electronic Engineers and Hobbyists. Despite the fact that there are numerous sheets on Arduino stage, yet Arduino Uno got numerous thanks, for its simplicity of doing ventures. Arduino based program improvement condition is a simple method to compose the program when contrasted with others.
Components Required :
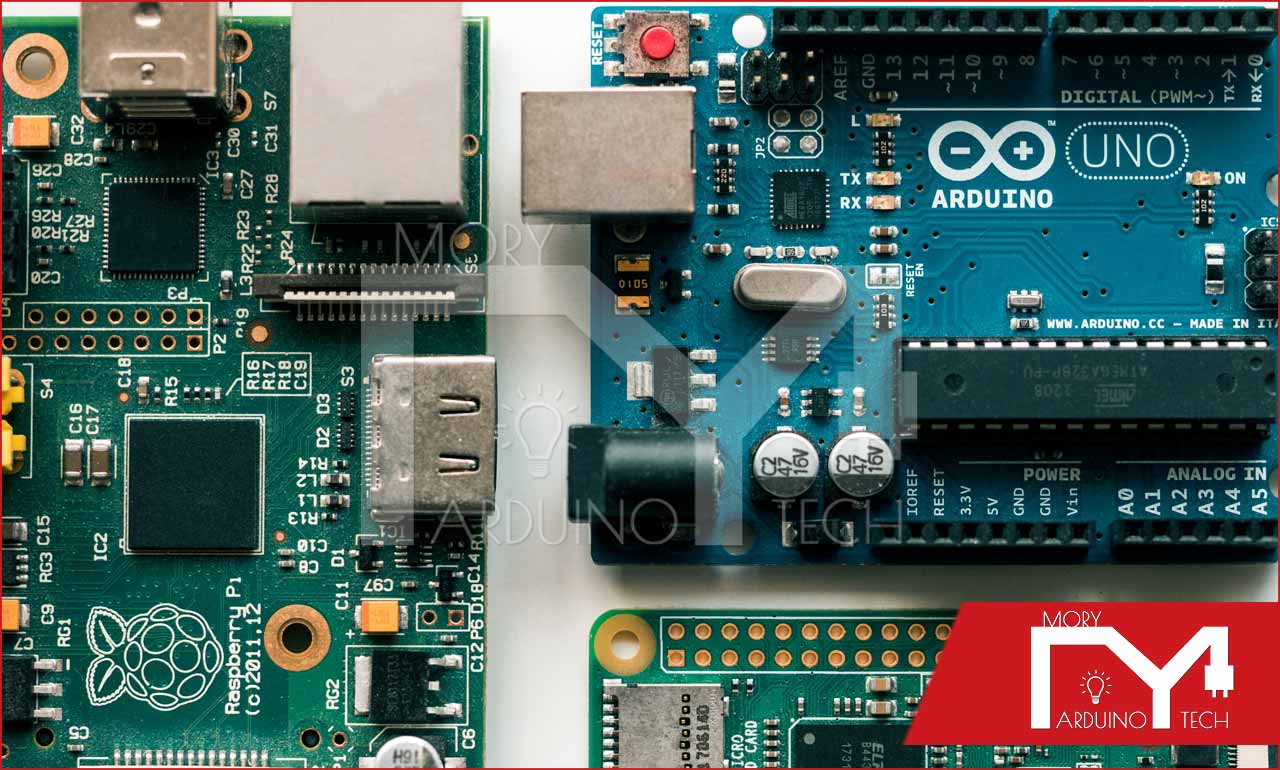
Here we are utilizing Raspberry Pi 2 Model B with Raspbian Jessie OS as well as Arduino Uno. All the fundamental Hardware and Software prerequisites, in regards to Raspberry Pi, are recently talked about, you can find it in the Raspberry Pi Introduction, other than that we need :
- Associating pins
- 220 ? or 1K ? resistor (2 pieces)
- Driven
- Catch
Circuit Explanation :
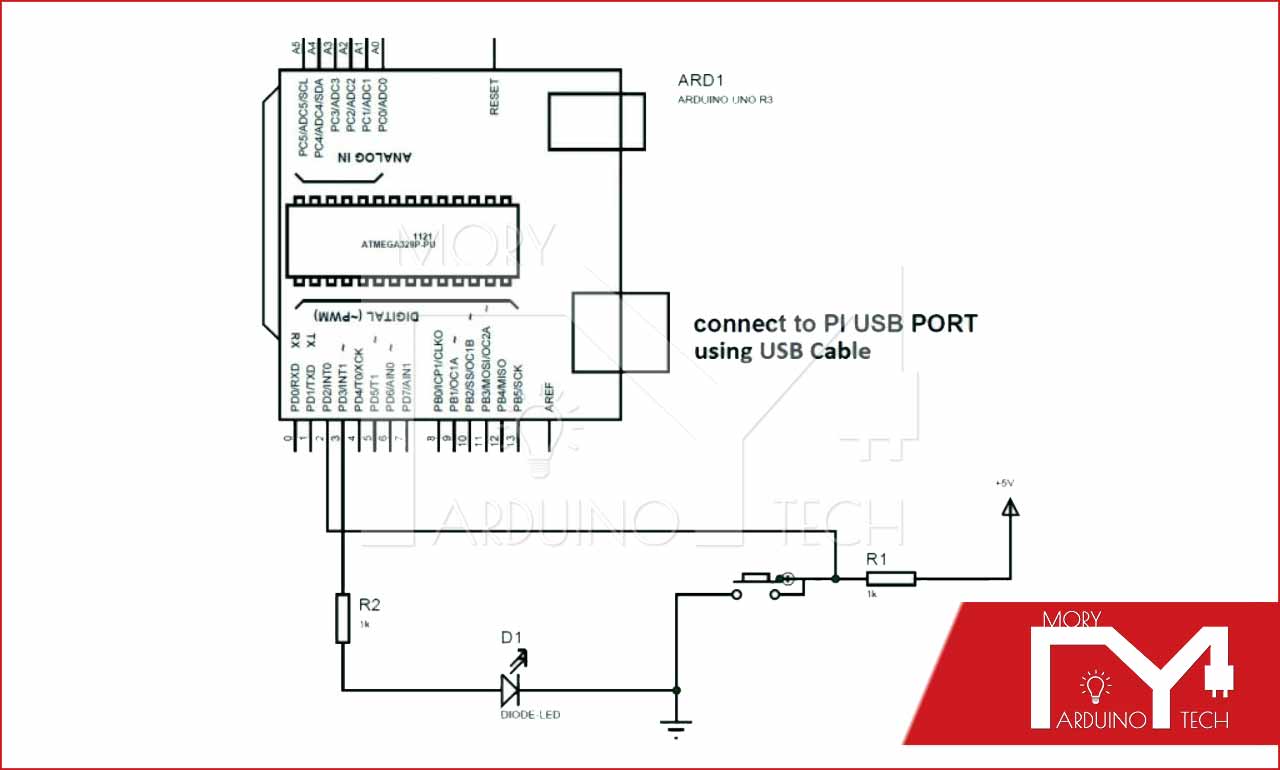
As appeared in the Circuit Diagram above, we will associate UNO to the PI USB port utilizing USB link. There are four USB ports for PI; you can interface it to any of them. A catch is associated with introduce the sequential correspondence and LED (squint) to demonstrate that information is being sent.
Working and Programming Explanation :
Arduino Uno Part :
First we should program the UNO,
Associate the UNO to the PC first and afterward compose the program (Check Code segment beneath) in the Arduino IDE programming and transfer the program to the UNO. At that point detach the UNO from PC. Join the UNO to the PI in the wake of programming and interface a LED and catch to the UNO, as appeared in circuit chart.
Presently the program here introduces the Serial Communication of UNO. At the point when we press the catch connected to the UNO, the UNO sends barely any characters to the PI sequentially through USB port. The LED connected to the PI squints to show the characters being sent.
Raspberry Pi Part :
After that we need to compose a program for PI (Check Code area beneath), to get this information being sent by UNO. For that we have to comprehend a couple of directions expressed underneath.
We are gonna to import sequential record from library, this capacity empowers us to send or get information sequentially or by USB port.
import serial
Presently, we have to express the gadget port and the bit rate for the PI to get the information from UNO with no mistakes. The underneath order expresses that, we are empowering the sequential correspondence of 9600 bits for each second on ACM0 port.
ser = serial.Serial('/dev/ttyACM0', 9600)To discover the port which the UNO being joined to, go to the terminal of PI and enter
ls /dev/tty*
You will have the rundown of every single joined gadget on PI. Presently associate the Arduino Uno to Raspberry Pi with USB link and enter the direction once more. You can without much of a stretch distinguish the UNO appended port from the showed rundown.
Underneath direction is utilized as everlastingly circle, with this order the announcements inside this circle will be executed ceaselessly.
While 1:
Subsequent to accepting the information sequentially we will show the characters on the screen of PI.
print (ser.readline())
So after the catch, joined to the UNO, is squeezed we will see characters being imprinted on the PI screen. Thus we have built up a Basic Communication Handshake between Raspberry Pi as well as Arduino.
Code
Code for Arduino Uno
void setup(){
pinMode(2,INPUT); // PIN2 is set for input
pinMode(3,OUTPUT); // PIN3 is set for output
Serial.begin(9600); // serial data rate is set for 9600bps (bits per second)
}
void loop() // execute the loop forever
{
if(digitalRead(2)==LOW) // if button attached to the UNO is
 pressed
 {
  digitalWrite(3,HIGH); // turn ON the LED at PIN3
  Serial.println( "ButtonPressed" ); // send "ButtonPressed" string of characters serially out
  delay(200); // wait for 200 milli second
  digitalWrite(3,LOW); // turn OFF the LED
 }
}
Code for Raspberry PI
import time
import serial
ser = serial.Serial('/dev/ttyACM0', 9600) # enable the serial port
while 1: # execute the loop forever
ser.readline() # read the serial data sent by the UNO
print (ser.readline()) # print the serial data sent by UNO