Arduino Automatic Water Level MONITOR And Pump Controller
How to make Automatic Water Level with Arduino
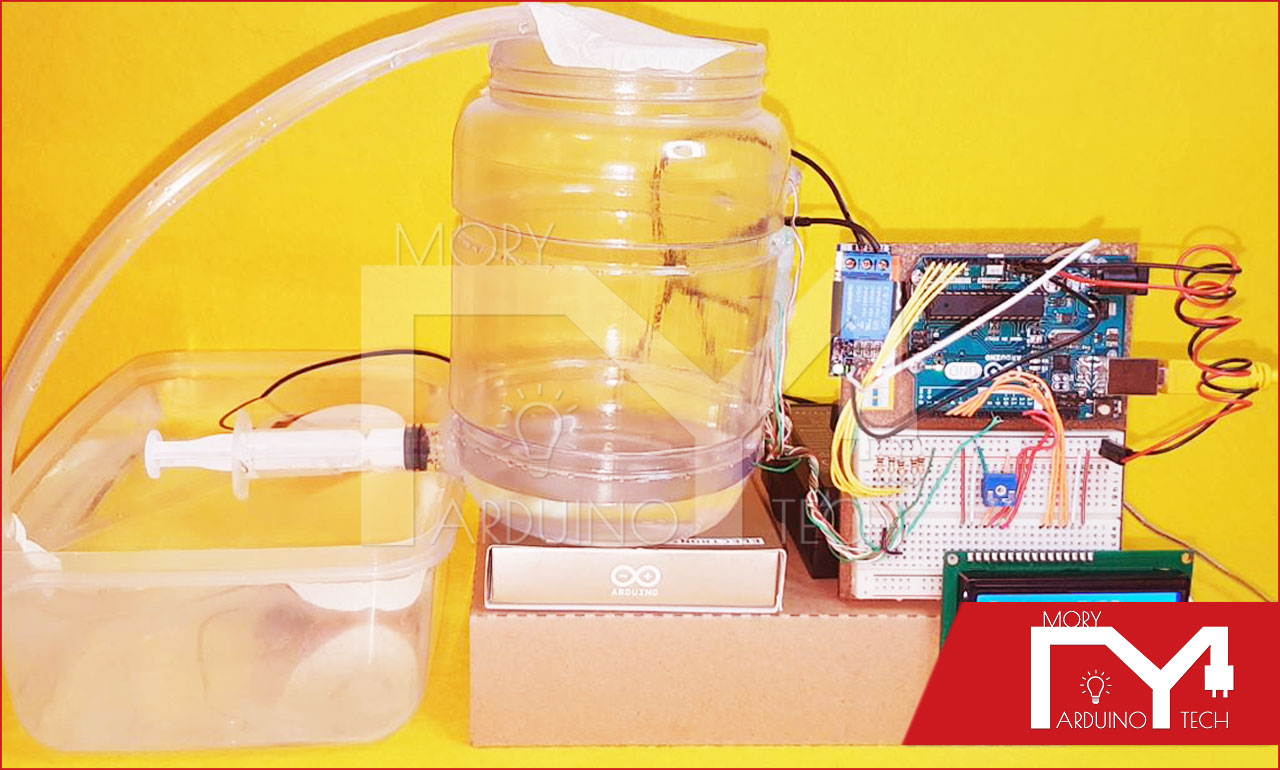
In this tutorial, we will learn how to make Automatic Water Level MONITOR And Pump Controller Using Arduino.
Hardware Required :
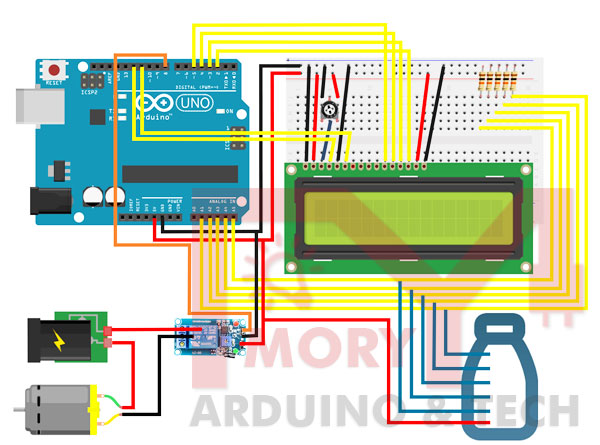
Project circuit :
Project circuit diagram is shown below.
LCD modules
LCD modules that display characters like text and numbers are the foremost inexpensive and simplest to use of all LCDs. they will be purchased in vari-ous sizes, which are measured by the amount of rows and columns of char-acters they will display. Some include a backlight and permit you to settle on the colour of the character and therefore the background color. Any LCD with an HD44780 or KS0066, compatible interface should work together with your Arduino. The LCD we’ll use may be a 16-character–by–2-row LCD module with a backlight.
DC motors
DC (Direct Current) motors are two-wire continuous rotational motors. When power is supplied to the motor, it will start running and will stop once power is removed.
The speed of the DC motor is controlled using the PWM technique . The duty cycle will determine the speed of the motor. The motor seems to be continuously running as each pulse is very rapid.
Understanding the basics of the relay
A relay is basically an electrical device, usually consisting of an electromagnet, which is activated by a passing of current in one circuit to open or close another circuit. You could think of it as a switch that requires current to turn on or off.
Link to the Code :
https://github.com/MORYTECH/ARDUINO-CODE/blob/master/Arduino%20Automatic%20Water%20Level.txt