Control servo motors with a joystick and Arduino

How to use multi-servo with Arduino
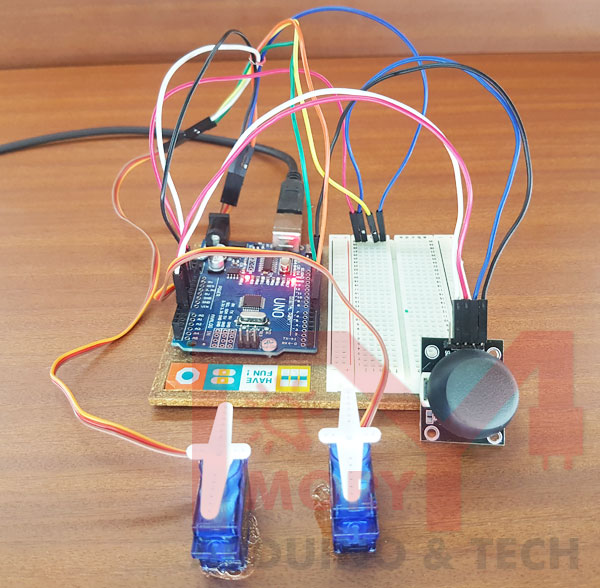
In this tutorial, we will learn how to use multi-servo with Joystick and Arduino. For this we will control two servo motor with one Joystick.
Hardware Required :
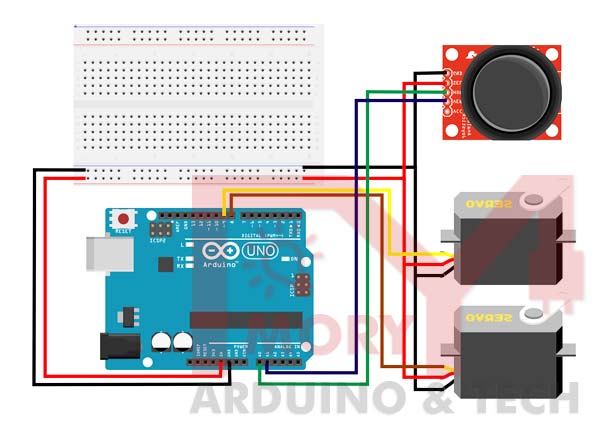
Project circuit :
Project circuit diagram is shown below.
Servo Motors :
Servo Engines are known for their precise shaft development or then again position. These are not proposed for rapid applications. These are proposed for low velocity, medium torque as well as precise position application.
These engines are utilized in mechanical arm machines, flight controls and control frameworks. Servo engines are additionally utilized in some of printers and fax machines.
Servo engines are accessible at various shapes and sizes. We will utilize SG90 Servo Motor in this instructional exercise. SG90 is a 180 degree servo engine. So with this servo we can situate the pivot from 0 to 180 degrees.
A Servo Motor for the most part has three wires, one is for positive voltage, another is for ground and last one is for position setting. The RED wire is associated with control, Brown wire is associated with ground and YELLOW wire (or WHITE) is associated with signal.
A Servo Motor is a mix of DC engine, position control framework and riggings. In servo, we have a control framework which takes the PWM signal from sign stick. It translates the sign and gets the obligation proportion from it. After that it thinks about the proportion to the predefined positions esteems. In case there is a distinction in the qualities, it changes the situation of the servo likewise. So the pivot position of the servo engine depends on the obligation proportion of the PWM sign to the SIGNAL stick.
The recurrence of PWM (Pulse Width Modulated) sign can change dependent on sort of servo engine. The significant thing here is the DUTY RATIO of the PWM signal. Check this for PWM with Arduino Due. Anyway for this situation, we need not stress over with the Duty Ratio determination. In Arduino we have an exceptional capacity; after calling it we can alter the situation of servo, just by expressing the edge. We will discuss that in the Working Section beneath.
Before Interfacing Servo Engine to Arduino Due, you can test your servo with the assistance of this Servo Engine Tester Circuit. Additionally check these tasks to Control Servo by Flex Sensor or by Force Sensor.
Link to the Code :
https://github.com/MORYTECH/ARDUINO-CODE/blob/master/Arduino-Control%20servo%20motors%20with%20a%20joystick.txt